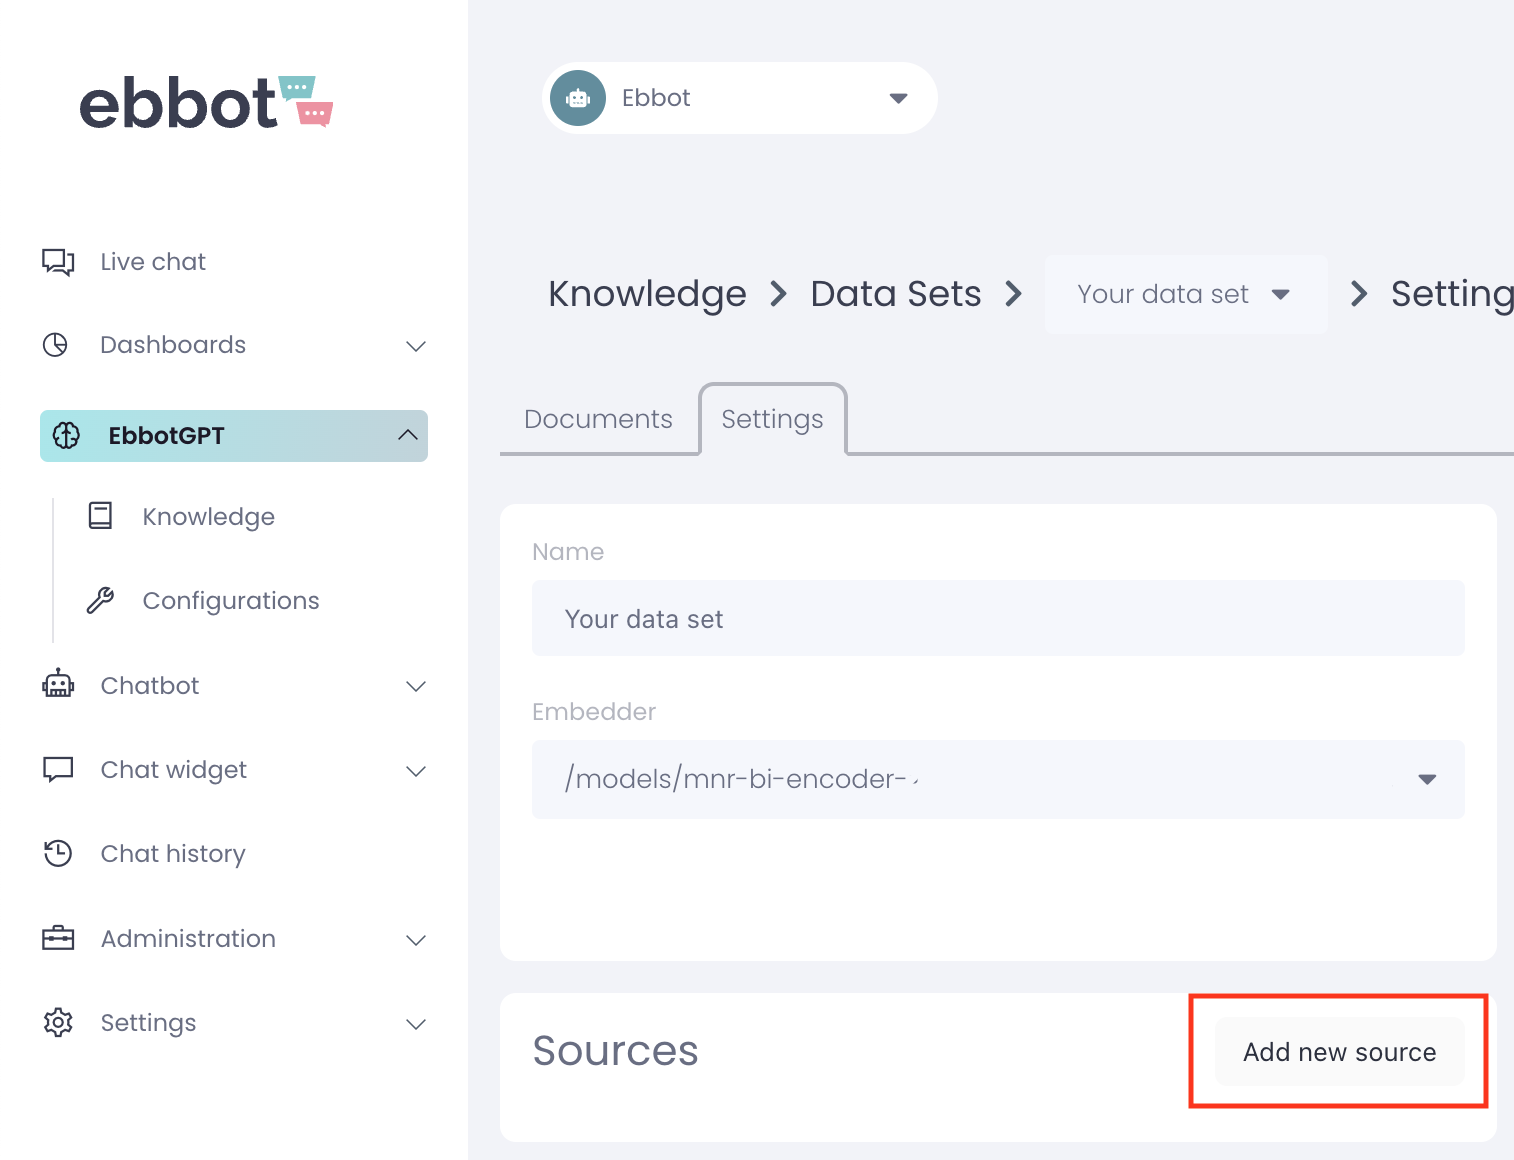
You can create data source by going into your data set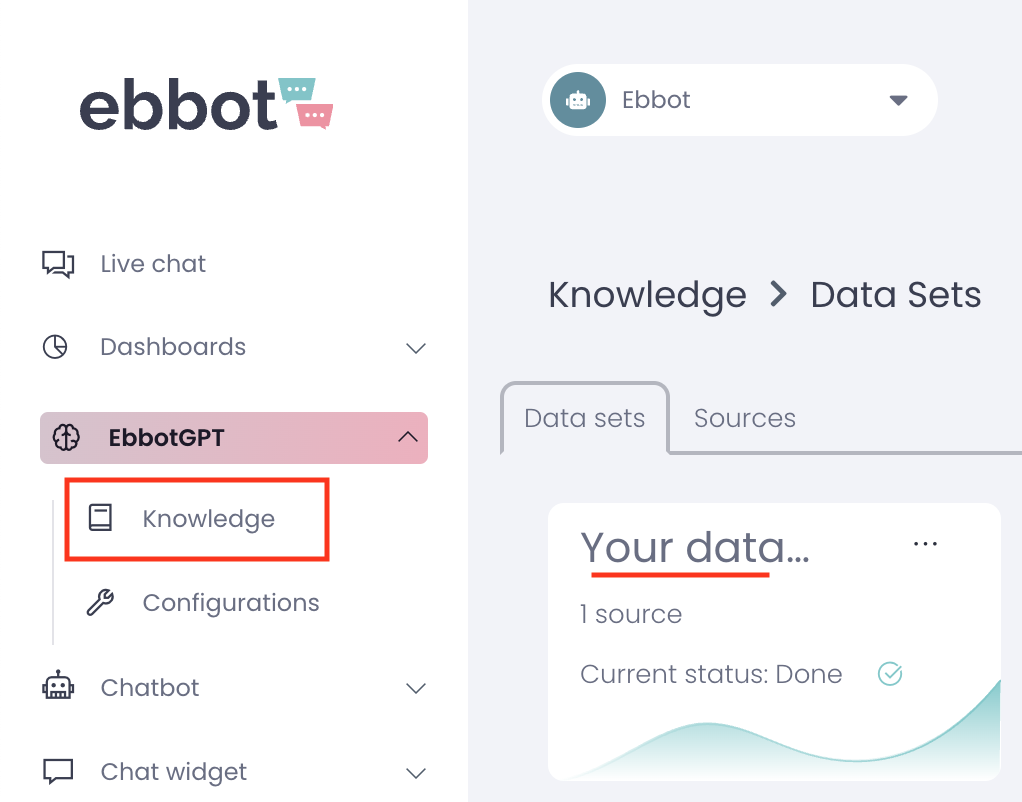
click on Settings and then Add new source.
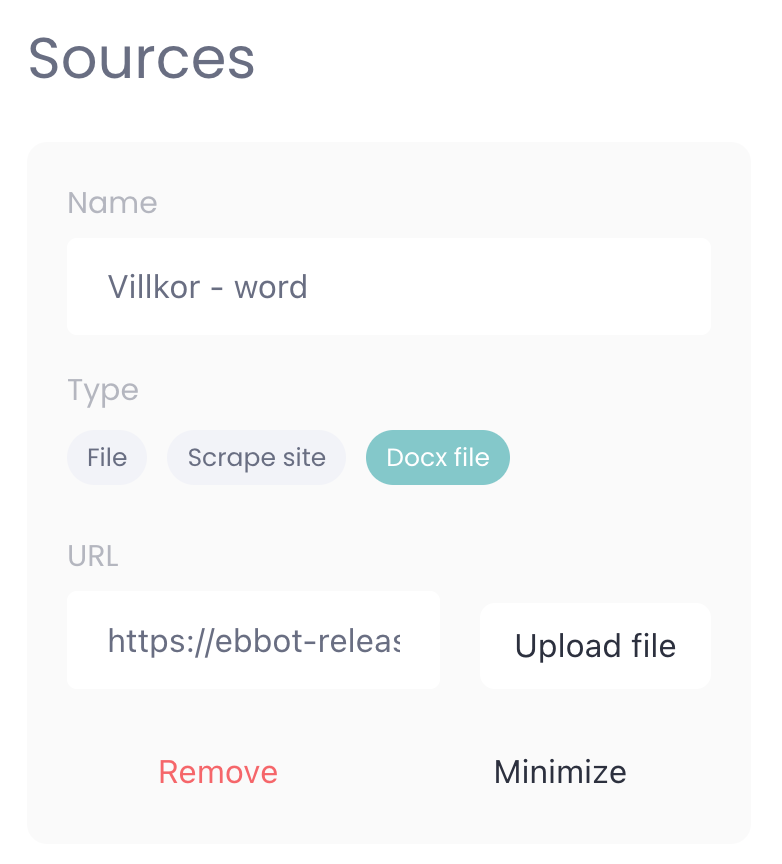
Add a name for the new source so that you can easily identify what it is. Upload the file you want to add as a source.
How to add a docx file (Word)
Adding a word document is the easiest source type to add. All you need to do is click on docx file and upload your word document.
How to turn a pdf file into a docx file
There are differeny ways to transform a pdf into a word-document. However, we recommend opening the pdf in word as word will automatically transform the pdf into a docx-file.
1. Open Word
2. Click on File
3. Click on Open
4. Choose the PDF you want to transform
5. Save the word document
How to add a file (csv/json)
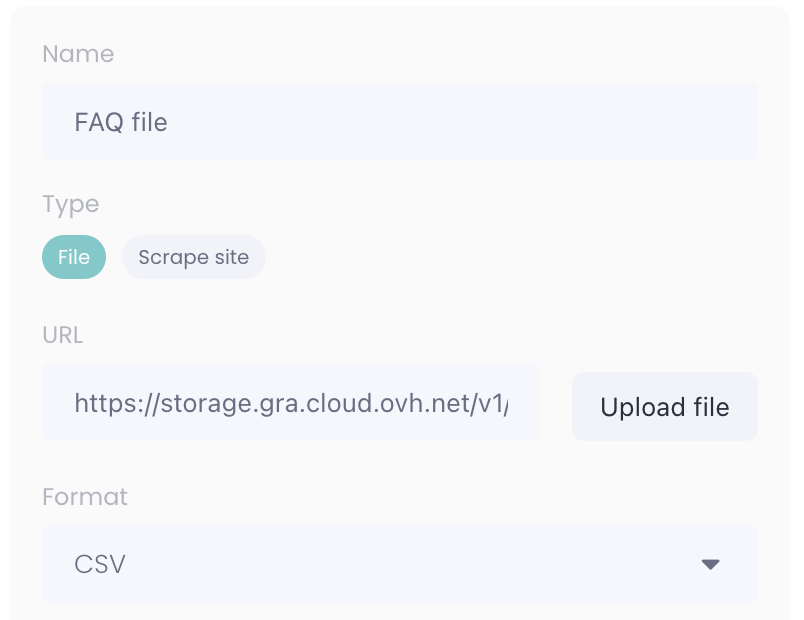
Before uploading you must define what column that can be used to identify each row and what columns the bot should retrieve its answer from.
- ID: A column that includes a unique value for each row.
- Searchable fields: The columns used by the bot when searching for an answer.
Example 1
In the example below the column that could be used as an ID is called id. The column to be used for finding answers is called q.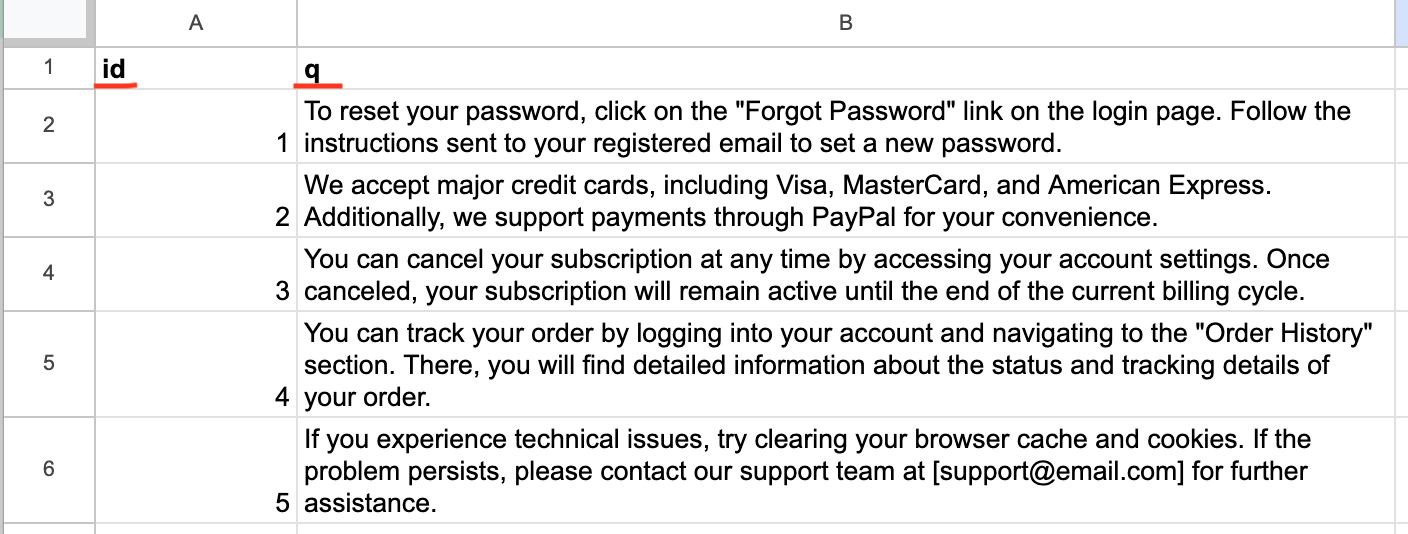
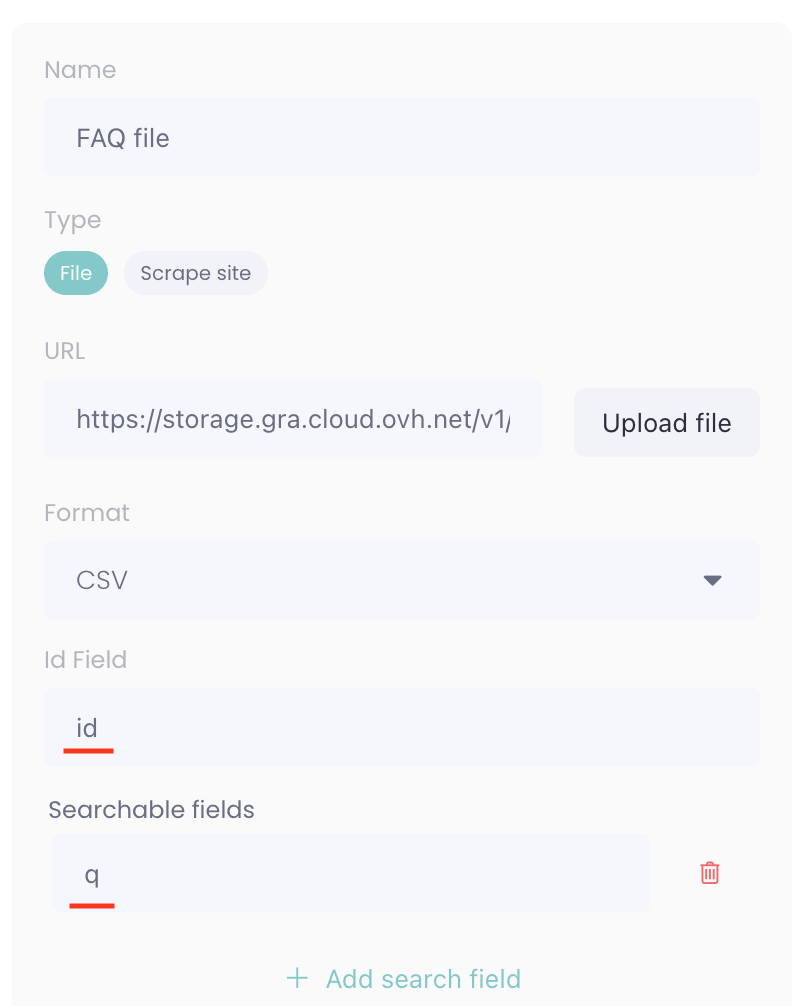
If your data source looks as the image above you would write id in the Id Field and q in the Searchable fields. (as depicted below)
Example 2
This example is more complex as it doesn't have a column called id and it has 2 columns that should be used as searchable fields.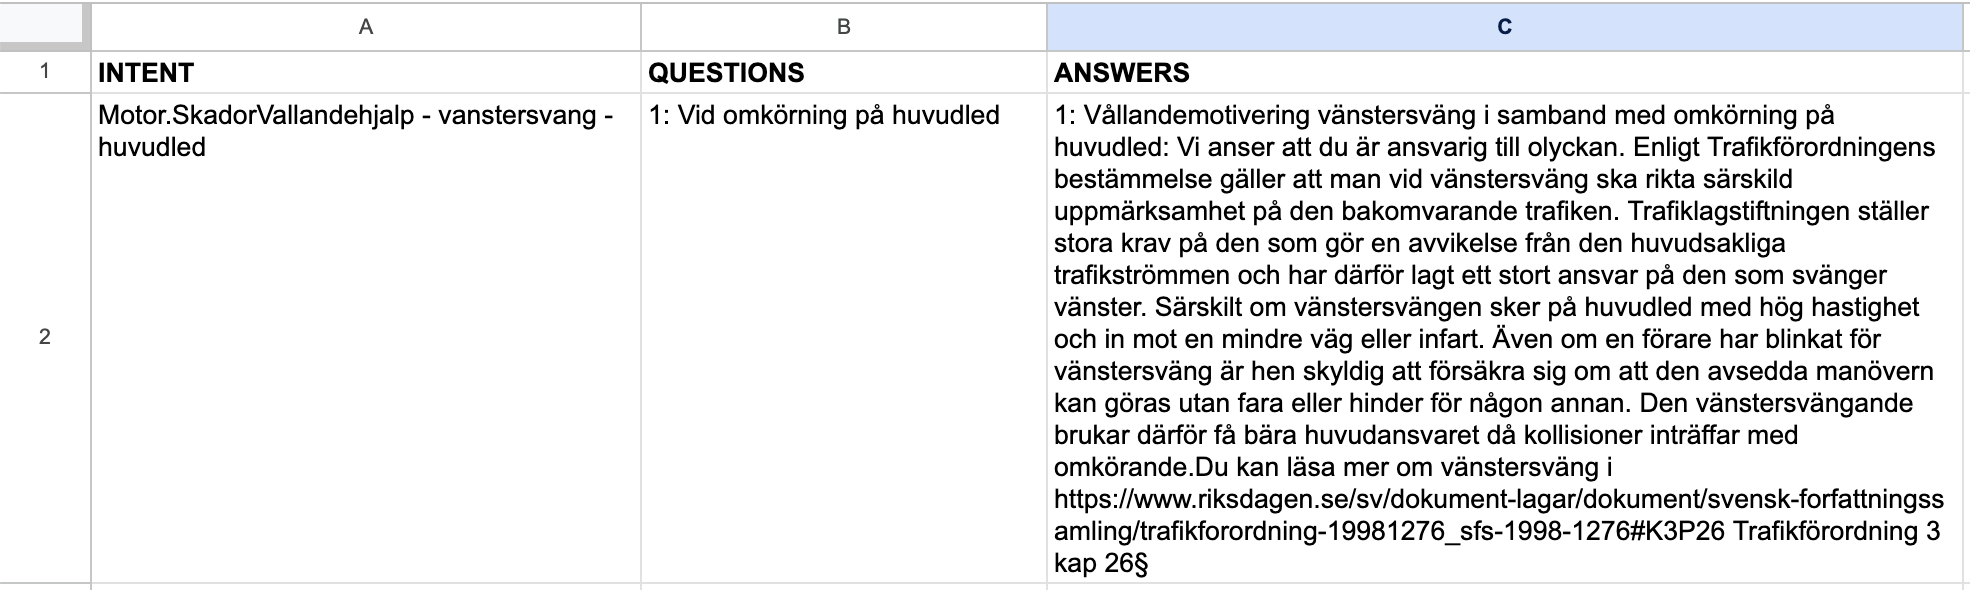
Since the column called INTENT is unique for each row it can be used as id. (If it wasn't we would have to create a new column called id and add a unique number to each row).
The columns QUESTIONS and ANSWERS should be used by the bot to find answers, so we add them in the fields under searchable fields.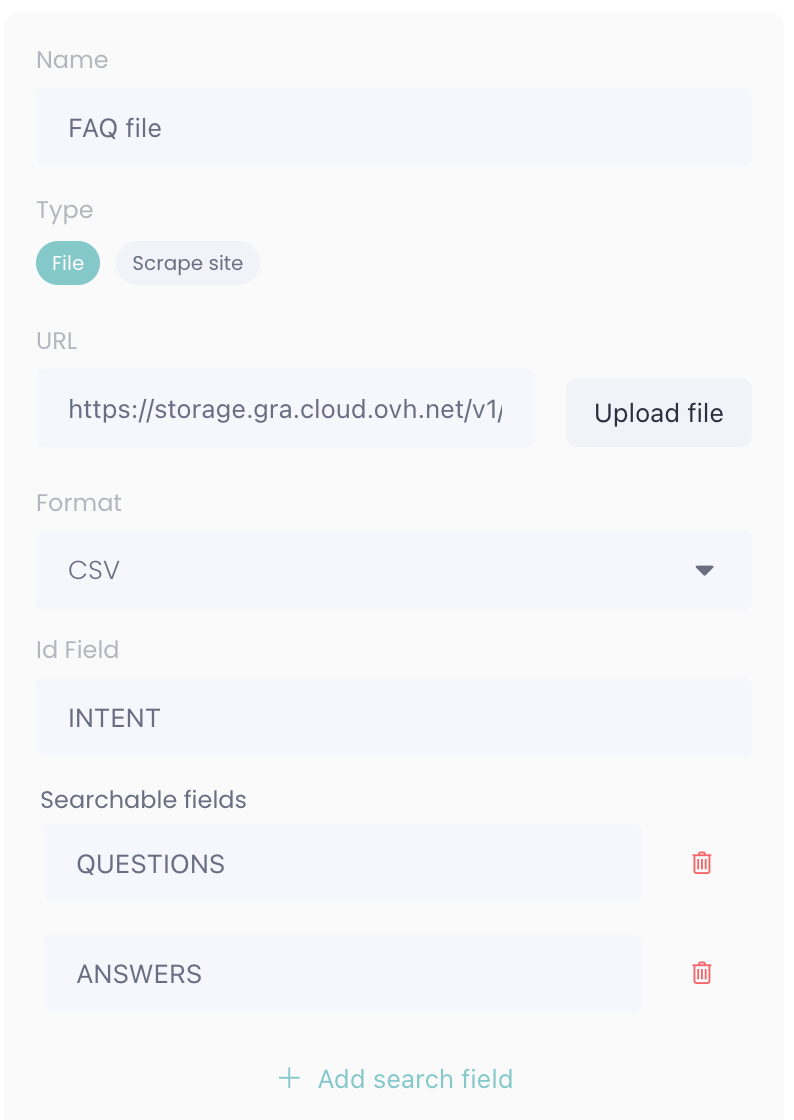
Advanced: Stringified fields is an advanced feature that should, in most cases, be left empty. It can be used if you want to limit what columns the Embedder uses.
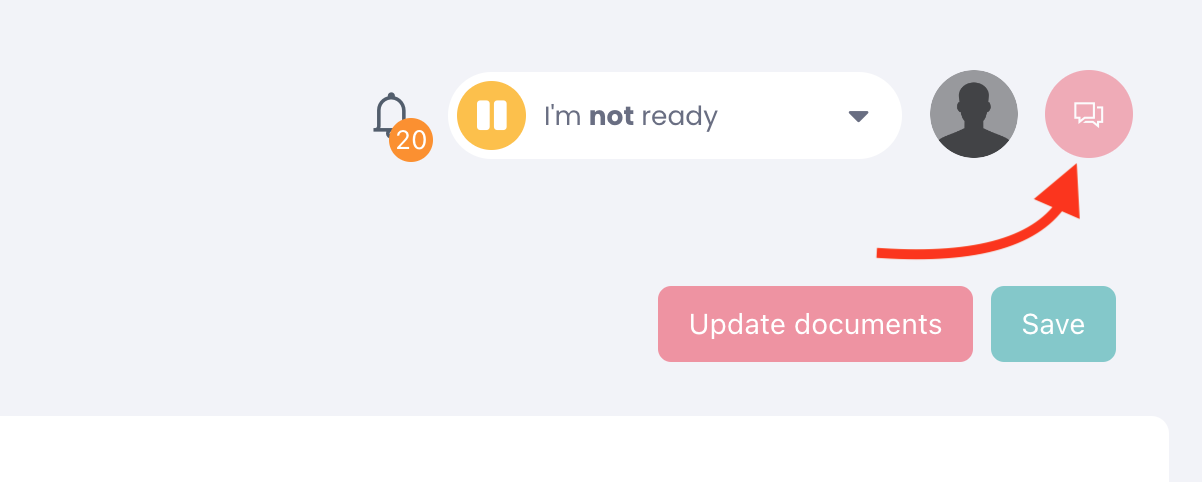
When you're done setting up your new data source you need to scroll up to the top of the page and click on save. If you want the new source to be imported to your data set you also need to click on Update documents.
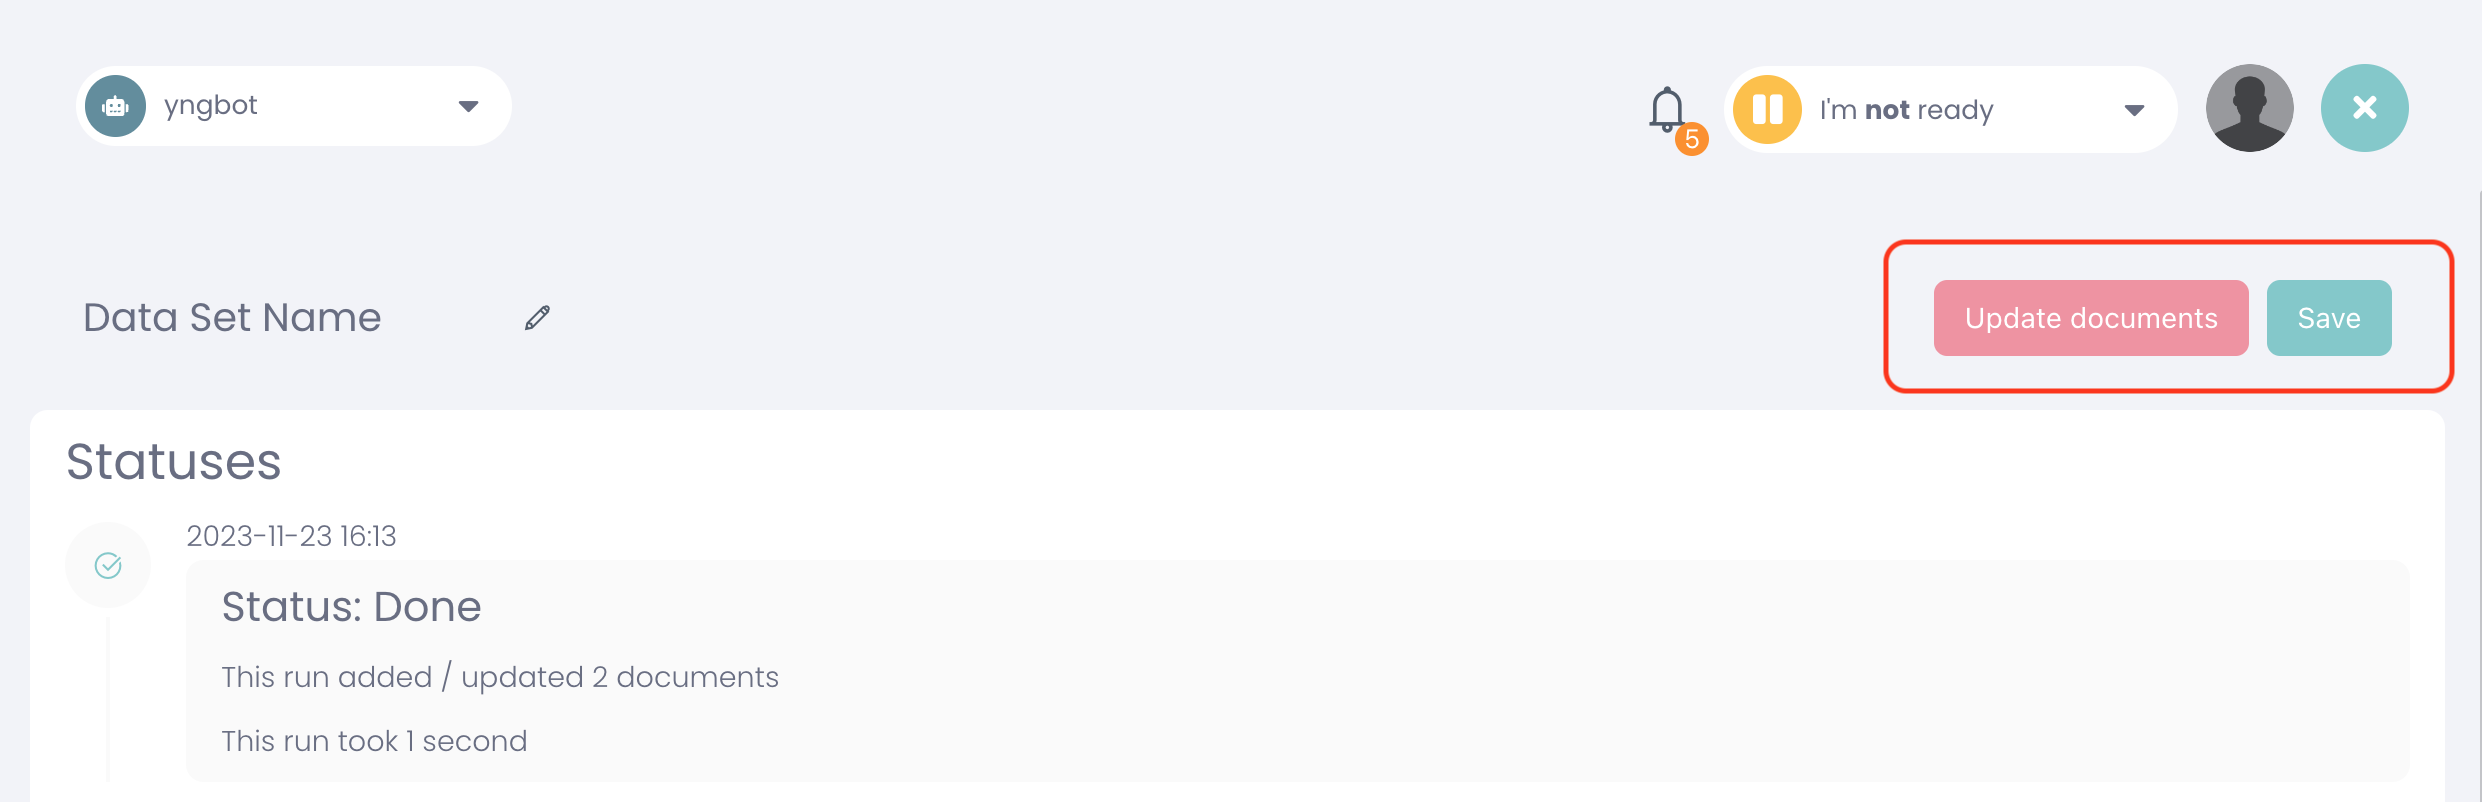
If the import was successful you can instantly try your bot and see how it answers based on your new data source by clicking on the icon with 2 chat bubbles in the top right corner.