Ebbot supports WhatsApp as a channel integration, allowing businesses to connect their WhatsApp accounts for seamless communication.
Create a Developer Account-
Navigate to Facebook Developer Registration and create a developer account.
-
For more details, refer to Facebook's Developer Registration Guide.
-
Go to Facebook Apps Creation and create a business app.
-
Step 1: Enter the app name and the owner's email address.
-
Step 2: Select "Business" as the app category. If this option is unavailable, choose "Other".
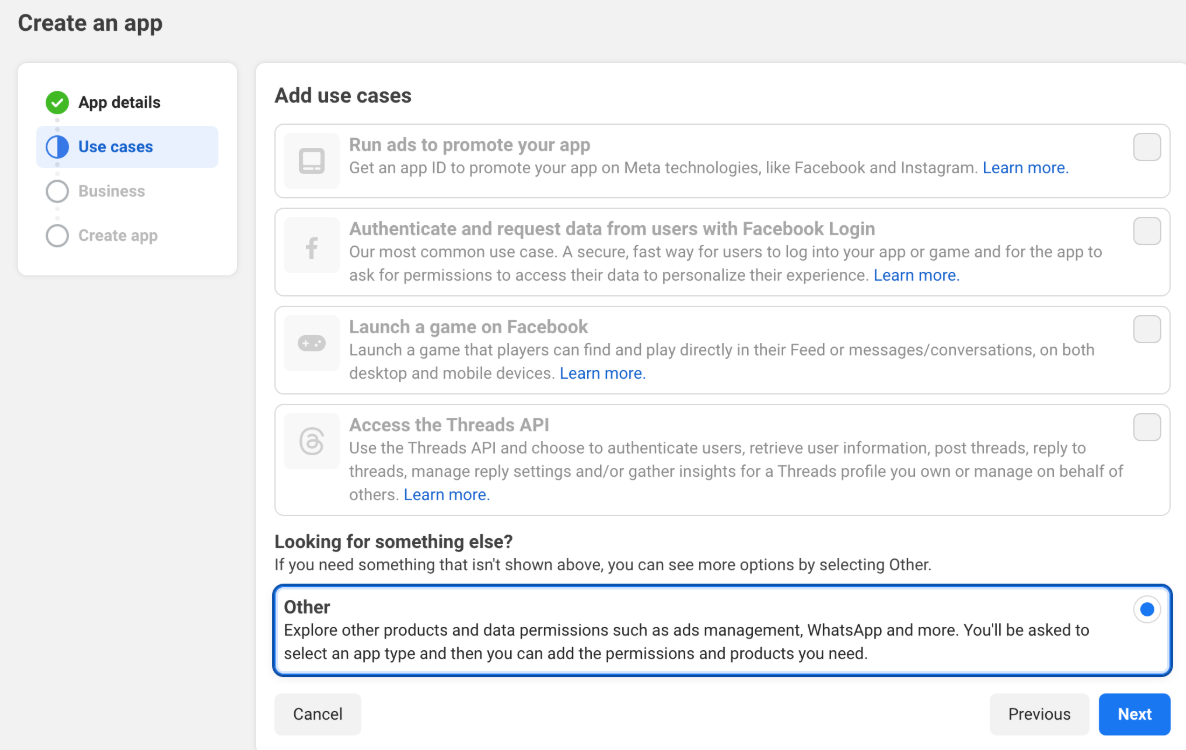
-
Step 3: Under "Select an app type", choose "Business" and click "Next".
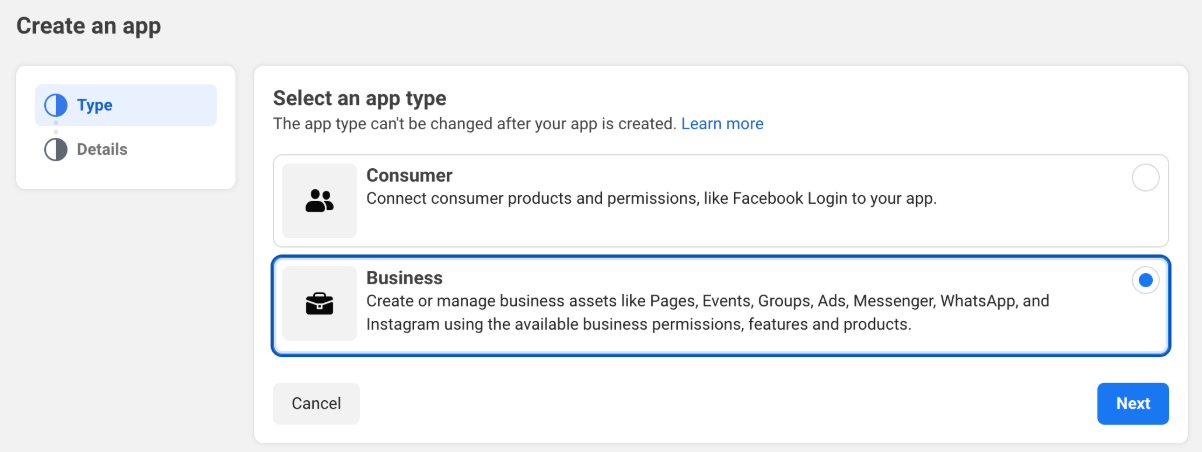
-
Ensure you select the "Business portfolio" you just created.
-
More information on app creation is available here.
-
After creating the app, you will be redirected to the app page.
-
Click "Set Up" next to the "WhatsApp" product.
-
In the left menu, select WhatsApp > API Setup.
-
Add the business phone number in Step 5: Add a phone number.
-
Add a payment method in Step 6: Add payment method.
-
Navigate to Webhooks in the left menu.
-
On the new page, select WhatsApp Business Account from the dropdown and click Subscribe to this object.
-
Copy the Webhook URL from the Ebbot setup page and paste it into the Callback URL field on Facebook.
-
Enter "Ebbot" in the Verify token field and click Verify and Save.
-
Switch your WhatsApp app from "Development" mode to "Live" at the top of the page.
-
Go to Facebook Business.
-
Select your Business Portfolio from the left menu and click Visit Settings.
-
In the left menu, click System Users > Add a System User.
-
Choose Admin as the System User Role.
-
Click the three dots next to the user and select Assign Assets.
-
In the dropdown, select the app and check Full Control > Manage App.
-
Under WhatsApp Account, select the app and check Full Control > Manage WhatsApp Business Accounts.
-
Click Assign Assets.
-
Click Generate Token on the right side of the page.
-
In the popup, select your app and click Next.
-
On the expiration page, choose Never for Token Expiration and click Next.
-
In the permissions dropdown, select:
-
whatsapp_business_messaging
-
whatsapp_business_management
-
-
Click Generate Token.
-
Copy the generated token and paste it into the Token field in the Ebbot WhatsApp setup page.
-
Ensure both Business Phone Number ID and Token fields are completed, then click Save in the Ebbot WhatsApp page.
A more detailed explanation exists under Settings > Channels > User > Whatsapp