To create a new scenario, press the green "+ Add scenario" button:
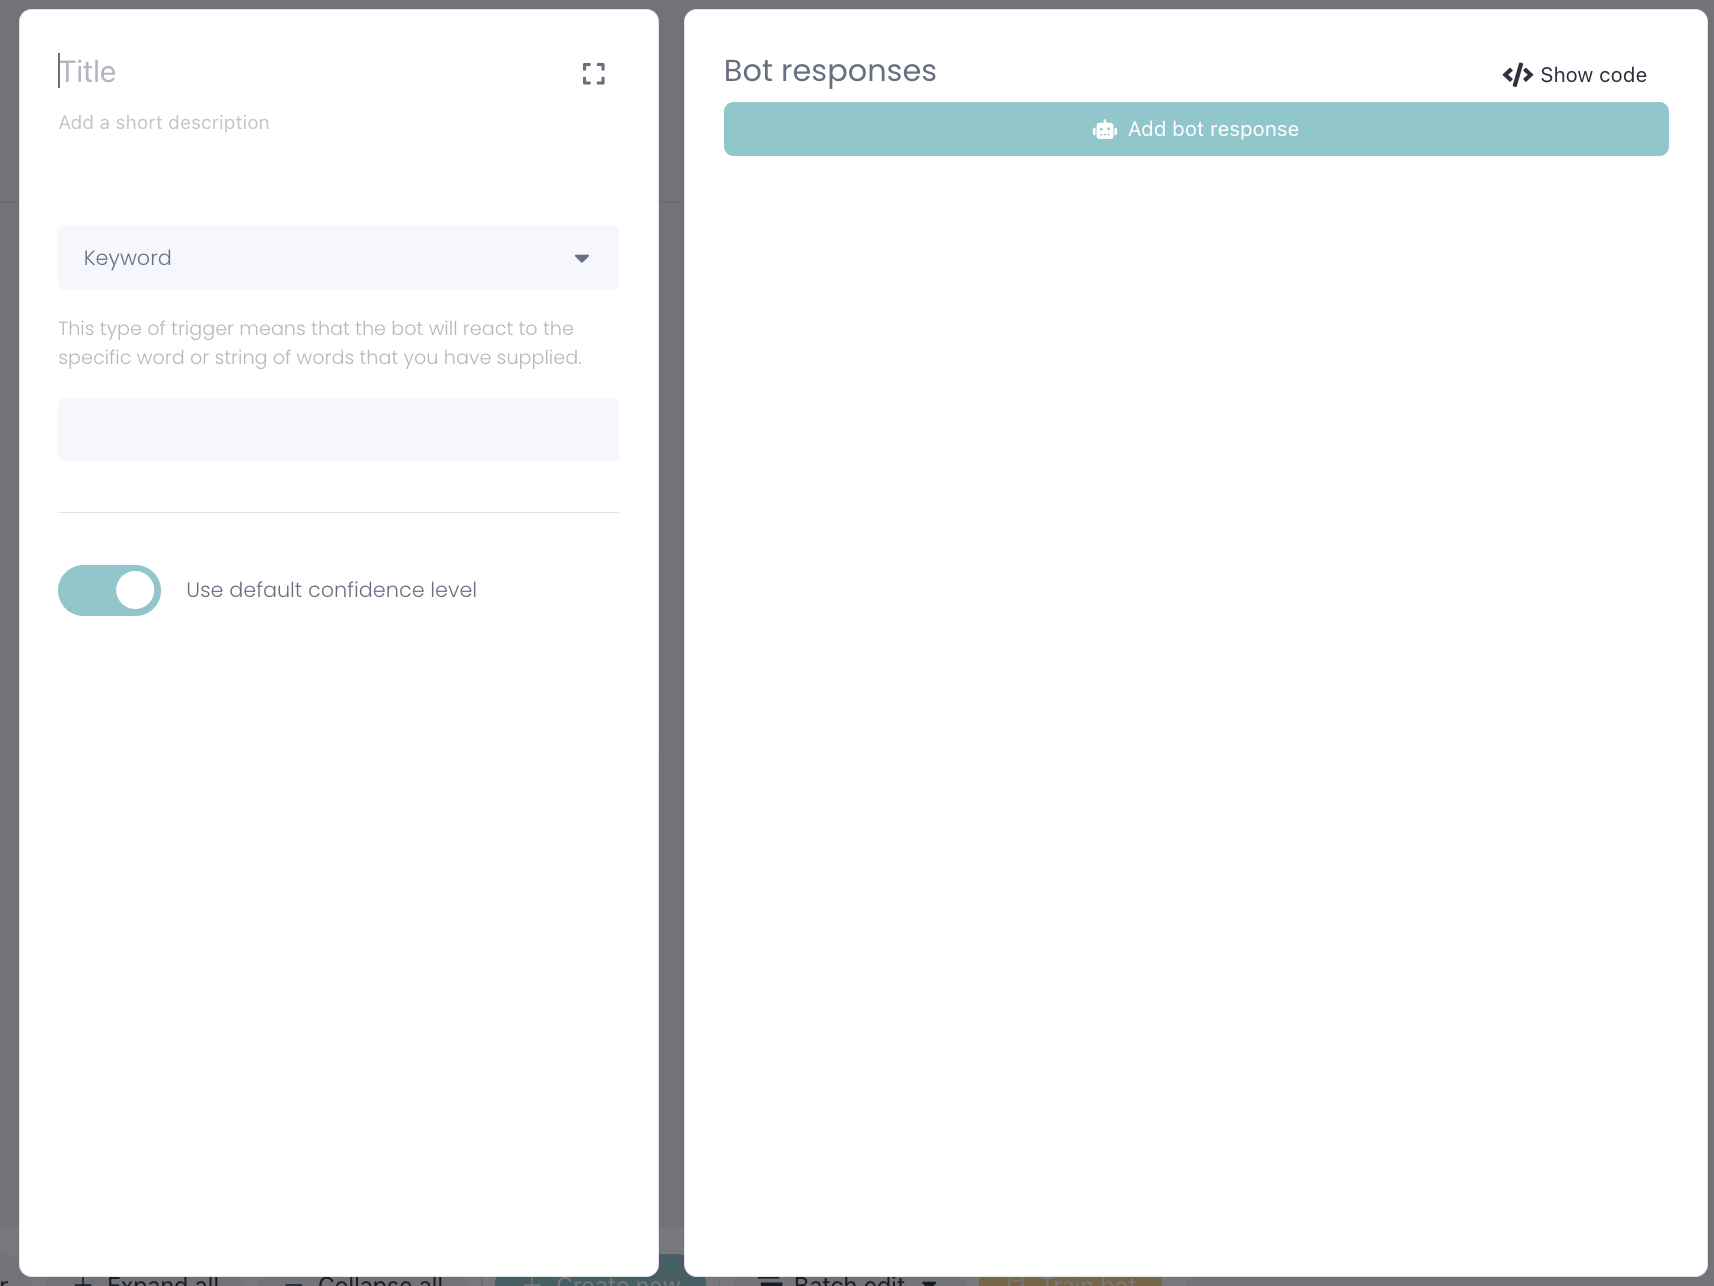
Just like in the previous studio, you need to give your scenario a title and a description if you wish. Otherwise, you'll get the error "Scenario name is missing" when trying to save it.
Next, you choose how the scenario should be triggered, whether via keyword, NLP, or another method.
Then, it is time to choose how the bot will respond. Then press "Add bot response":
Here, you will find the same card as before. The difference here is that you can drag and drop the cards exactly where you want them, and you can edit the text field any way you want with our editor: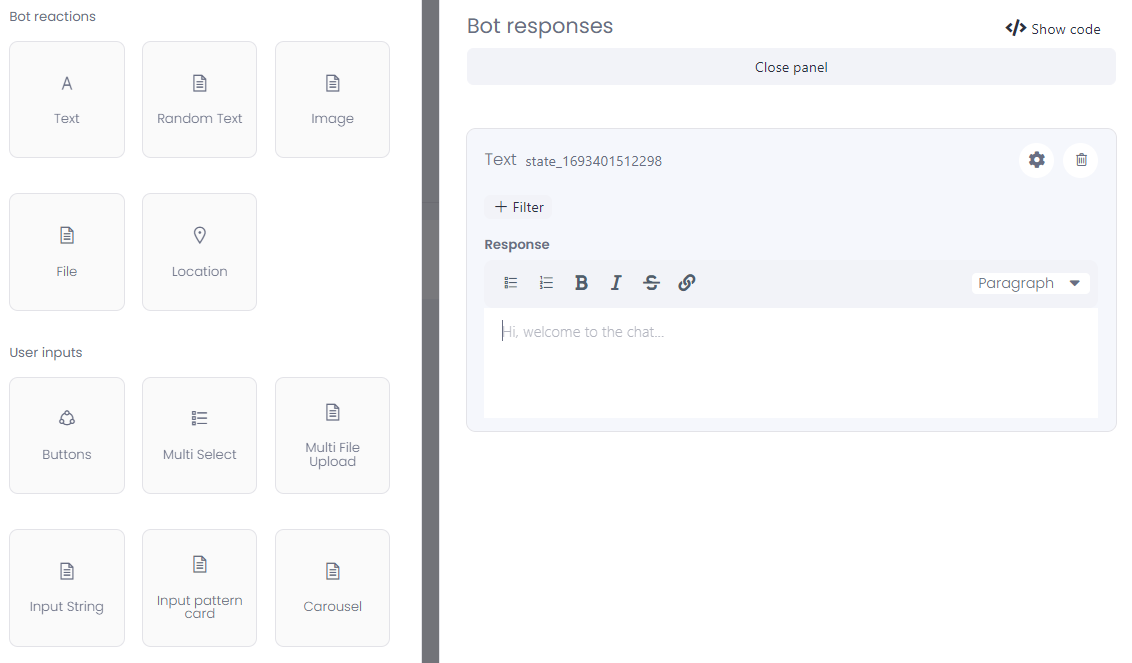
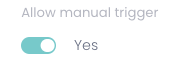
Manual trigger
In the bot builder, enabling the manual trigger option allows live chat agents to trigger this scenario during customer conversations. This is useful for tasks like collecting information or managing a BankID verification.
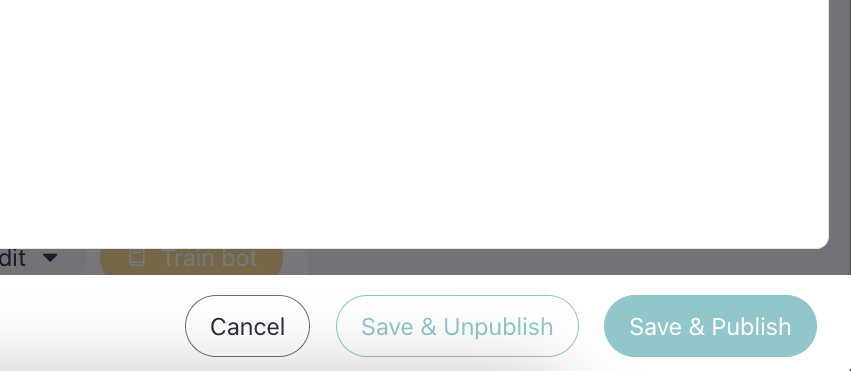
To save the scenario you created, press "Save & Publish":
To then categorize, unpublish or otherwise, press "Batch edit". There you can choose what you wish to do with specific or individual scenarios:
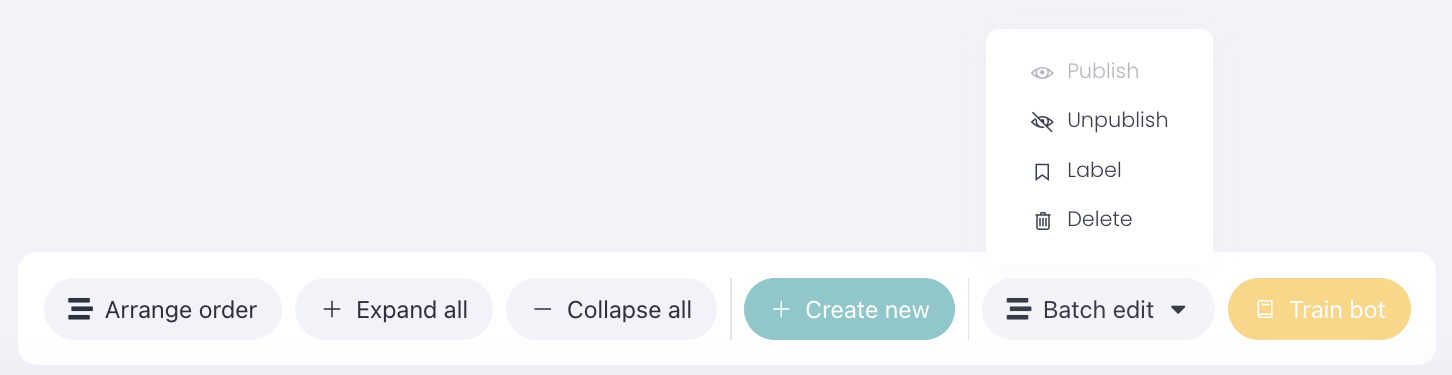
And don't forget to press "Train bot" when you want to publish your scenario and include the training data you have trained. And you are now ready.
Good luck! 😊